
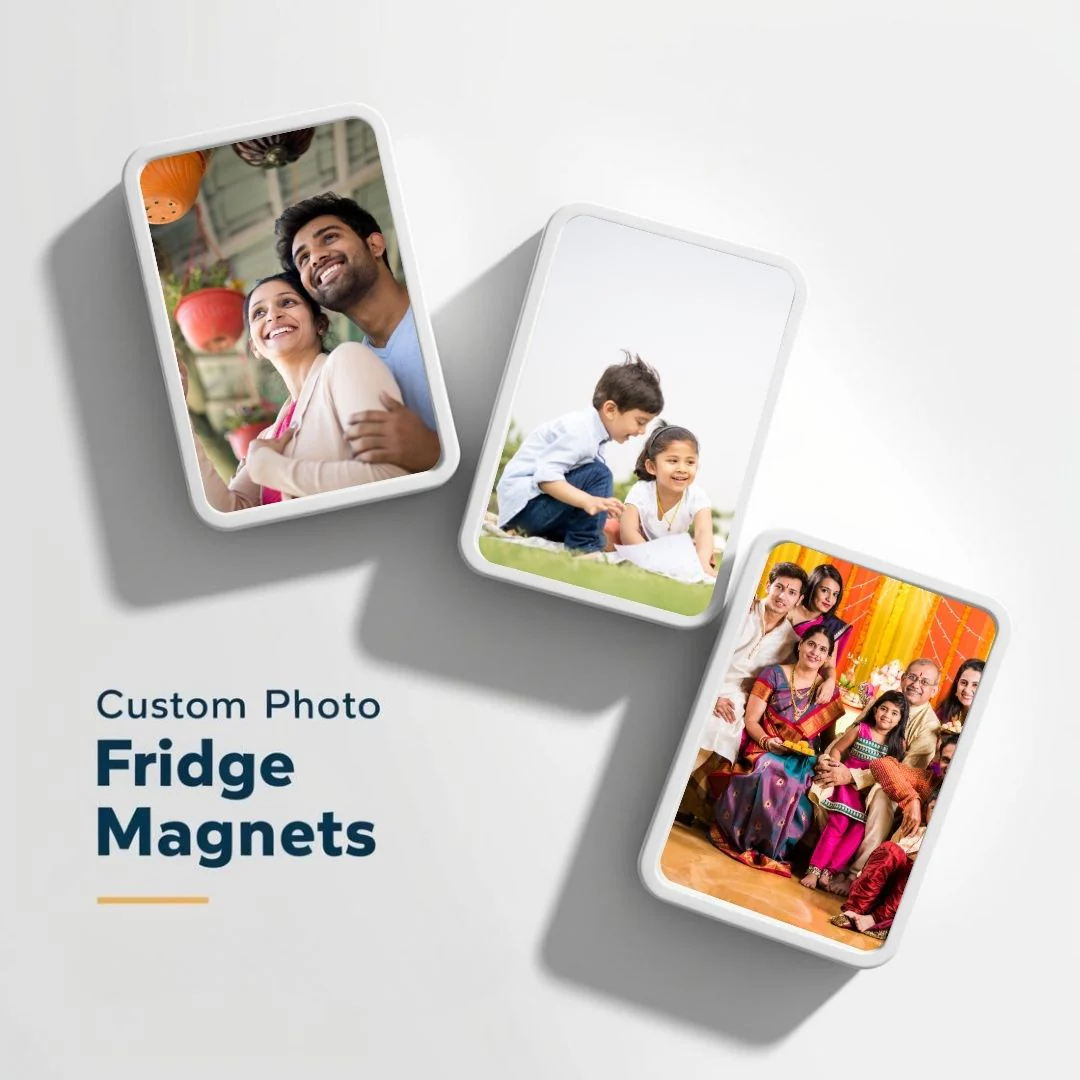
Fridge magnets are small, quiet objects—but they hold a surprising amount of power. They pin memories in place, turn ordinary kitchens into personal galleries, and remind us of places, people, and moments that matter. Designing your own custom fridge magnets takes that idea one step further. It’s no longer just about collecting memories; it’s about creating them.
Whether you want to design magnets from your travels, make meaningful gifts, or simply bring a personal touch to your space, this step-by-step guide will help you turn ideas into magnets that truly belong on your fridge.
Step 1: Decide the Story You Want to Tell
Before thinking about shapes, colors, or materials, pause and ask one simple question:
What is this magnet meant to represent?
It could be:
- A specific place (a city, a street, a café)
- A moment (a graduation, a solo trip, a shared holiday)
- A feeling (comfort, excitement, nostalgia)
- A person (a gift for someone you love)
Custom magnets are most powerful when they’re story-first. A clear intention will guide every design decision that follows.
Step 2: Choose a Shape That Matches the Meaning
The shape of a magnet matters more than we think. It sets the tone before anyone even looks closely.
Some ideas:
- Squares or rectangles → Classic, Polaroid-like, perfect for photos or illustrations
- Circles → Badge-style, playful, collectible
- Icons or silhouettes → Minimal and symbolic (houses, landmarks, symbols)
- Abstract shapes → Modern, design-led, emotion-focused
Think about how the magnet will live on the fridge. Will it stand alone, or sit among many others? Consistency helps if you’re creating a series.
Step 3: Pick a Design Style (Keep It Simple)
Resist the urge to include everything. The best fridge magnets are readable at a glance.
Popular styles include:
- Minimal illustrations (clean lines, limited colors)
- Typography-based designs (a word, date, or phrase)
- Flat icons inspired by places or objects
- Soft, hand-drawn styles for a more personal feel
Remember: magnets are small. Simplicity isn’t a limitation—it’s a strength.
Step 4: Select a Color Palette That Feels Right
Color is emotional. Choose a palette that supports the story you’re telling.
For example:
- Warm neutrals → nostalgia, comfort
- Blues and greens → calm, travel, distance
- Bright colors → joy, playfulness, celebration
- Monochrome → elegance, timelessness
Limit yourself to 2–4 colors. This keeps the design clean and ensures it doesn’t clash with other magnets on the fridge.
Step 5: Design Digitally (or by Hand)
You don’t need advanced tools to design a beautiful magnet.
Digital options:
- Canva (great for beginners)
- Adobe Illustrator (ideal for vector designs)
- Procreate (for hand-drawn styles)
Hand-drawn option:
Sketch your design on paper first. Many custom magnet services can digitize hand-drawn artwork, preserving its charm.
Focus on:
- Clear outlines
- Legible text
- Balanced spacing
Always preview your design at actual size to ensure details don’t disappear.
Step 6: Choose the Right Material
The material affects how your magnet feels—and how long it lasts.
Common options:
- Acrylic → Sleek, modern, vibrant colors
- Metal → Durable, premium feel
- Wood → Warm, tactile, handmade look
- Flexible rubber → Lightweight, budget-friendly
For gifting or long-term collections, sturdier materials are usually worth it.
Step 7: Test the Magnet Strength
A beautiful magnet that slides down the fridge is frustrating.
Make sure your magnet:
- Can hold at least one piece of paper
- Stays in place when the fridge door opens
- Has evenly distributed magnetic backing
If you’re producing magnets yourself, test different magnet sizes before finalizing.
Step 8: Decide How It Will Be Used
Designing becomes easier when you know how the magnet will live.
Ask yourself:
- Is it purely decorative?
- Will it hold notes or photos?
- Is it part of a larger set?
- Is it a one-time gift or a repeatable design?
Multi-use magnets often get used—and loved—more.
Step 9: Add a Subtle Personal Touch
What makes a custom magnet special is the detail only you would think to add.
This could be:
- A tiny date on the back
- Coordinates of a place
- A short word only you understand
- A symbol linked to an inside joke
These details don’t need to be obvious. They just need to exist.
Step 10: Create, Share, or Gift With Intention
Once your magnet is ready, let it do what magnets do best—stick around.
Place it where you’ll see it often. Gift it with a small note explaining its meaning. Or start a collection that grows with your life.
Custom fridge magnets aren’t about perfection. They’re about presence. They turn everyday surfaces into quiet storytellers.
Final Thoughts
Designing your own custom fridge magnets is a simple act with lasting impact. It invites you to slow down, reflect, and create something small but meaningful.
Because sometimes, the most powerful memories don’t need frames or albums.
They just need a place to stick.
Leave a Reply